


ASMR thrives on crisp, intimate audio—every whisper, tap, or crinkle needs to feel like it’s happening right next to your listener’s ear. But achieving that studio-level clarity at home can be tricky. Whether you’re a seasoned creator or just starting out, these seven pro tips will transform your ASMR mic audio from “good enough” to “tingle-worthy.”
1. Master Your Mic’s Settings
The Problem: Clipping, muffled tones, or uneven volume.
The Fix:
- Adjust the Gain: Keep it low (50–70%) to avoid distortion. Test by whispering at your softest volume—the mic should pick it up without hiss.
- Polar Patterns: Use cardioid mode (heart-shaped) to focus on your voice/triggers and reject background noise. For 3D soundscapes, try stereo mode (if your mic supports it).
- Sample Rate: Record at 48 kHz/24-bit for high-resolution audio.
Pro Tip: For USB mics like the Blue Yeti, disable auto-gain in your computer’s sound settings.
2. Silence Your Space with Acoustic Hacks
Even the best mic can’t fix a noisy room.
- DIY Soundproofing: Hang moving blankets or foam panels on walls to kill echoes. Place a rug under your desk to dampen vibrations.
- Closet Studio: No budget? Record in a clothes-filled closet—fabrics absorb sound naturally.
- Noise Gates: Use software like Audacity to set thresholds that mute background hum (e.g., distant traffic).
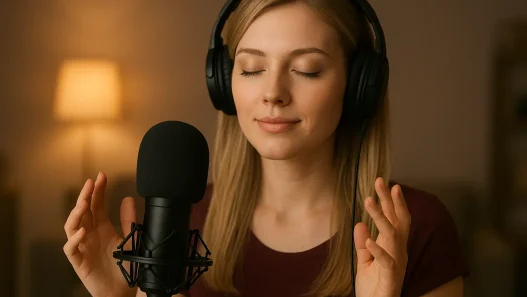
3. Nail the Mic Position
Distance and angle are everything:
- Whispering: Place the mic 6–8 inches away, slightly off-axis (not directly in front of your mouth) to avoid breath noise.
- Object Triggers: For tapping/crinkling, position the mic 4–6 inches above the sound source.
- Height Matters: Align the mic with your mouth or the object—never aim it upward (catches ceiling fan noise)
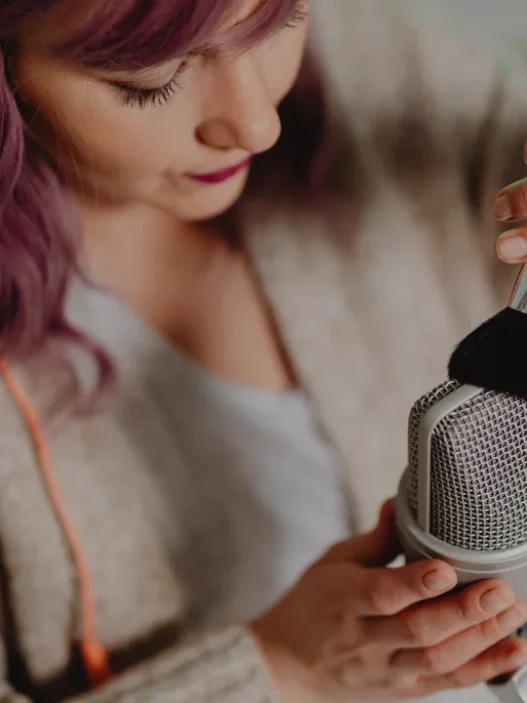
4. Invest in These 3 Essential Accessories
- Pop Filter: Stops harsh “p” and “b” sounds during whispers (10–20).
- Shock Mount: Isolates the mic from desk bumps (crucial for table-tapping ASMR).
- Reflection Filter: The Kaotica Eyeball ($150) mimics a treated studio in untreated rooms.
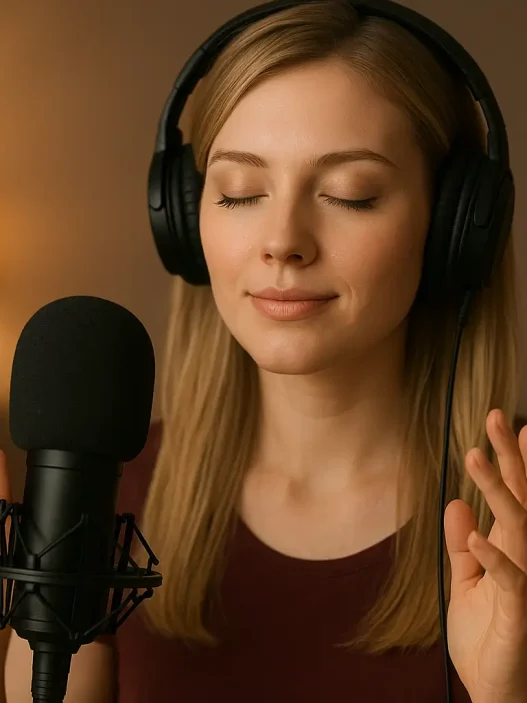
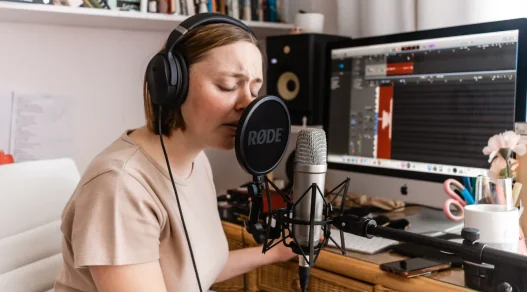
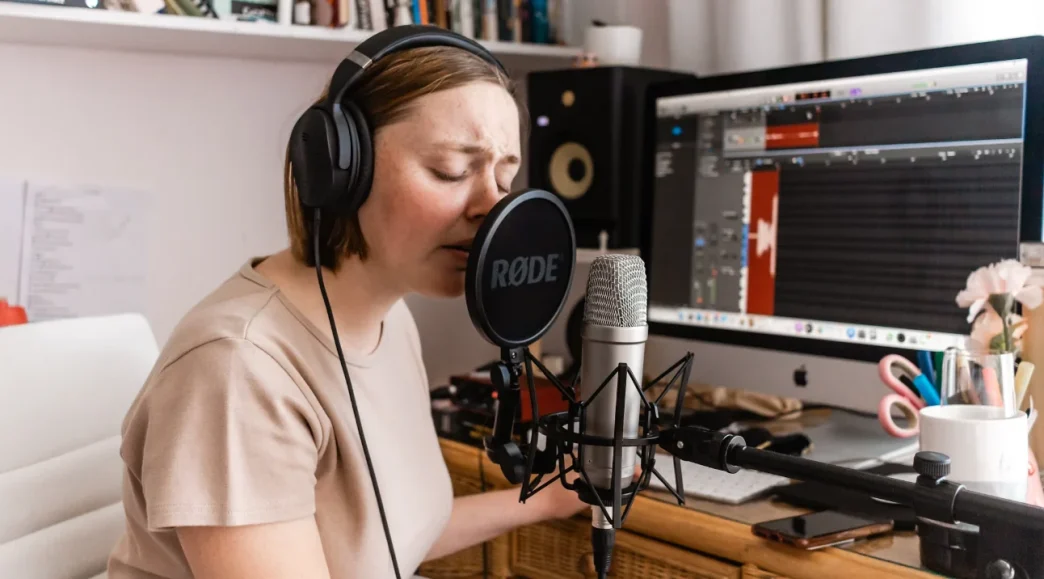
5. Monitor in Real-Time (No Guessing!)
Wearing closed-back headphones (like Audio-Technica ATH-M50x) lets you hear exactly what your mic captures. Check for:
- Background hum (fridge, AC).
- Plosives or mouth clicks.
- Consistent volume levels.
6. Polish with Post-Processing
Subtle edits make a huge difference:
- Noise Reduction: In Audacity or Adobe Audition, sample a silent part of your recording to remove hiss.
- EQ Tweaks: Boost highs (8–12 kHz) for “crispness,” cut lows (below 100 Hz) to reduce rumble.
- Compression: Smooth out volume spikes (e.g., loud crinkles vs. soft whispers).
Pro Tip: Less is more—over-editing can make audio sound artificial.
7. Test, Tweak, Repeat
- Record Short Samples: Test mic positions, gain, and triggers before full sessions.
- Listen Back Critically: Use headphones and ask: Does this trigger tingles?
- Update Gear Gradually: Start with a pop filter, then add a shock mount, etc.
BONUS: Troubleshooting Common Issues for ASMR Mic Audio
- Plosives Ruining Whispers? Angle the mic 45 degrees downward.
- Metallic Echo? Cover hard surfaces (desk, walls) with towels.
- Hissy Audio? Lower the gain and get closer to the mic
Crisp ASMR audio isn’t about expensive gear—it’s about smart setups and attention to detail. Experiment with these tips, trust your ears, and let those tingles flow. 🎧✨
What’s your biggest ASMR audio challenge? Share below, and let’s troubleshoot together!