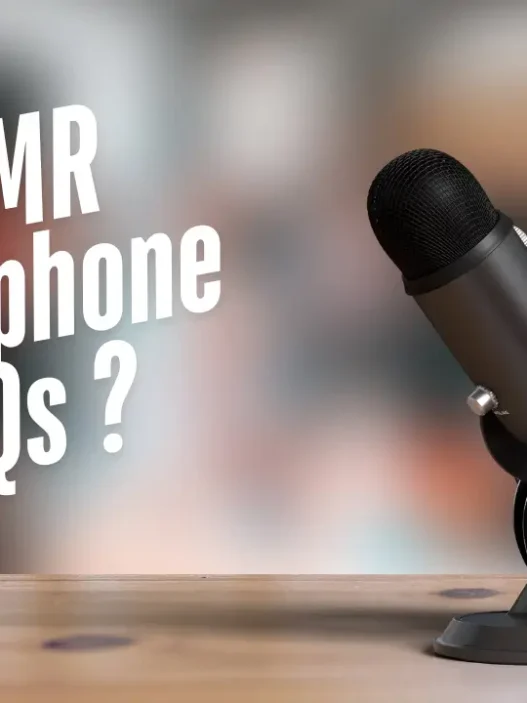


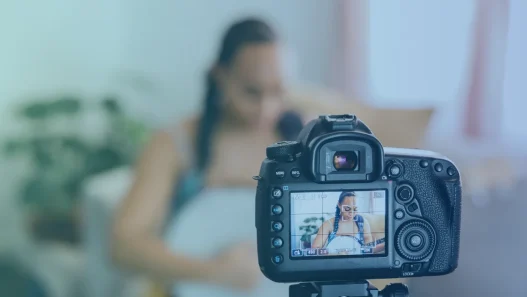


Creating immersive ASMR content starts with crystal-clear audio. Whether you’re whispering, tapping, or rustling, your audience craves those delicate sounds to trigger tingles. But you don’t need a professional studio—just the right mic, setup, and a few insider tips. Here’s how to achieve studio-quality ASMR audio at home.
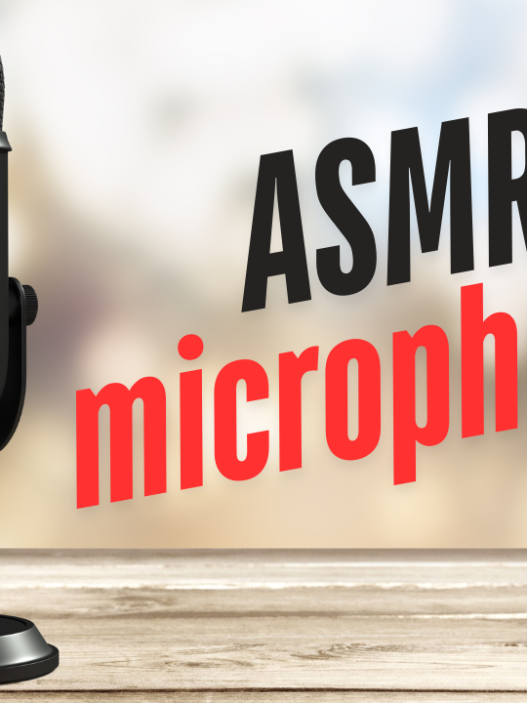
1. Choosing the Right ASMR Microphone
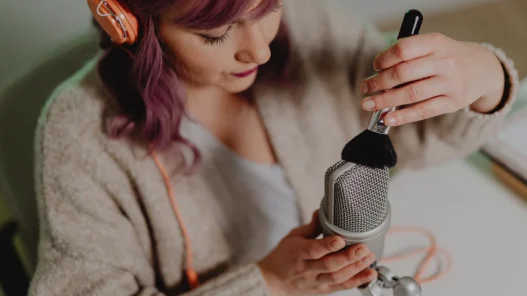
Your mic is the heart of your setup. For ASMR, condenser microphones are ideal—they’re ultra-sensitive and capture subtle details. Consider these popular options:
- Budget-Friendly USB Mics: Blue Yeti, Samson Meteor (plug-and-play, no extra gear needed).
- Mid-Tier XLR Mics: Audio-Technica AT2020, Rode NT1 (requires an audio interface but offers richer sound).
- High-End Options: Neumann TLM 103 (for serious creators investing in premium quality).
Pro Tip: If you went to know more about Best Microphones for ASMR Read This Article. It’s help you to buy best microphone.

2. Crafting a Silent Sanctuary: Your Recording Space
ASMR thrives in silence. Transform any room into a noise-free zone:
- Location: Pick the quietest room (avoid spaces near appliances/windows).
- Soundproofing: Use thick curtains, rugs, and foam panels to dampen echoes. DIY hack: Hang blankets on walls.
- Ambient Noise: Turn off fans/AC, silence phones, and record during quieter hours.
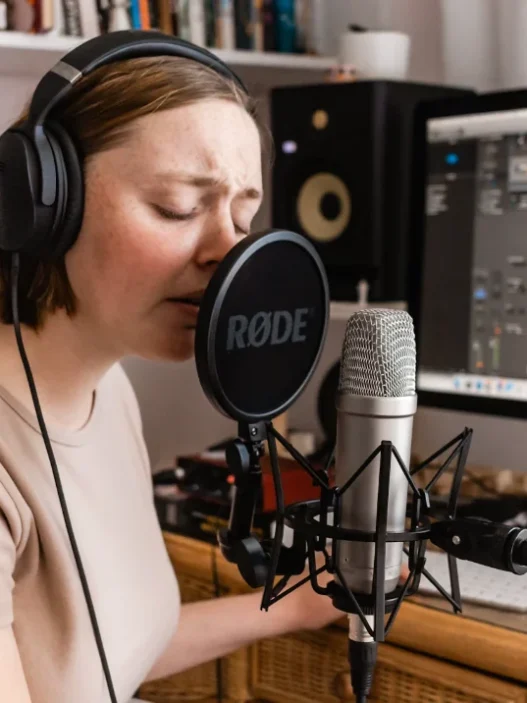
3. Mic Positioning: The Art of Proximity and Angle
Where you place your mic impacts clarity:
- Distance: Start 6–12 inches away. Closer for soft sounds (whispers), farther for louder triggers (crinkling).
- Angle: Point the mic slightly off-axis to reduce breath noise. Experiment with placements—above, below, or to the side of your mouth.
- Height: Align the mic with your mouth or the source of sounds (e.g., level with your hands for tapping).
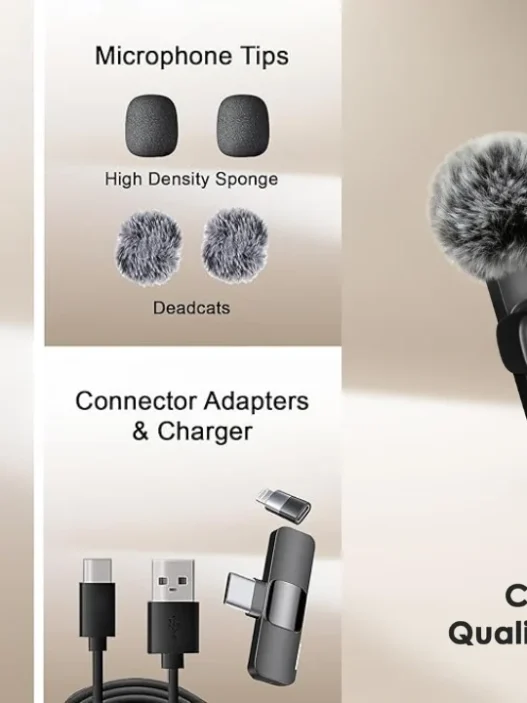
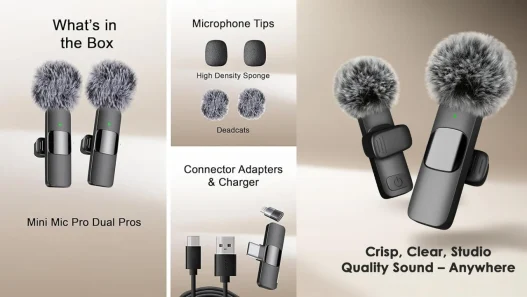
4. Essential Accessories for Flawless Audio
Boost your setup with these tools:
- Pop Filter: Minimizes plosives (hard “p” sounds) during whispers.
- Shock Mount: Reduces vibrations from desk bumps or movements.
- Reflection Filter: Improves sound in untreated rooms (e.g., Kaotica Eyeball).
- Monitoring Headphones: Hear exactly what your mic picks up (Sony MDR-7506 are a favorite).
For XLR Users: Invest in a reliable audio interface (Focusrite Scarlett) and quality XLR cables.
5. Software Tweaks for Polished Sound
Even raw recordings need a little love:
- Editing Tools: Audacity (free) or Adobe Audition for noise reduction, EQ adjustments, and compression.
- Noise Reduction: Remove background hiss or hum in post-production.
- Normalization: Balance volume levels for consistency.
- Real-Time Monitoring: Use your interface/software to monitor audio while recording.
6. Pro Tips for Different ASMR Triggers
- Whispering: Angle the mic slightly downward to avoid breath sounds.
- Tapping/Crinkling: Place the mic closer to the object, but lower the gain to prevent clipping.
- Roleplays: Use a stereo mic (like Blue Yeti in bidirectional mode) for immersive 3D sound.
Fnal Checklist for ASMR Success
- ✅ Choose a condenser mic suited to your budget.
- ✅ Soundproof your space with DIY or professional treatments.
- ✅ Experiment with mic positioning and angles.
- ✅ Add accessories like a pop filter and shock mount.
- ✅ Edit with noise reduction and subtle EQ.
With the right setup, your ASMR content can rival professional studios—no fancy gear required. Remember, experimentation is key! Test different techniques, listen critically, and let your triggers shine. Happy tingling!
Got questions? Share your ASMR setup journey in the comments below! 🌟